Section 3: Concrete Pavement Repair
Anchor: #i10101143.1 Introduction
Use Item 361, “Repair of Concrete Pavement,” for situations where the deteriorated concrete extends to the mid-depth of the slab. Use Item 720, “Repair of Spalling in Concrete Pavement,” or Item 721, “Fiber Reinforce Polymer Patching Material,” for situations where the deteriorated concrete is shallower than the mid-depth of the slab. For emergency work or temporary repair, Item 700, “Pothole Repair,” may be utilized.
Anchor: #i10051093.2 Repair Procedures
The following procedures need to be followed when repairing concrete pavement:
- Anchor: #GFHFALHX
- Identify the repair limits. Anchor: #LFWCOVIB
- Remove deteriorated concrete. Anchor: #UUEHBQKF
- Clean the repair surfaces. Anchor: #OALOSJVB
- Place the repair material. Anchor: #FXFQKYTC
- Finish the surface.
Each step is explained in more detail.
1. Identify the repair limits
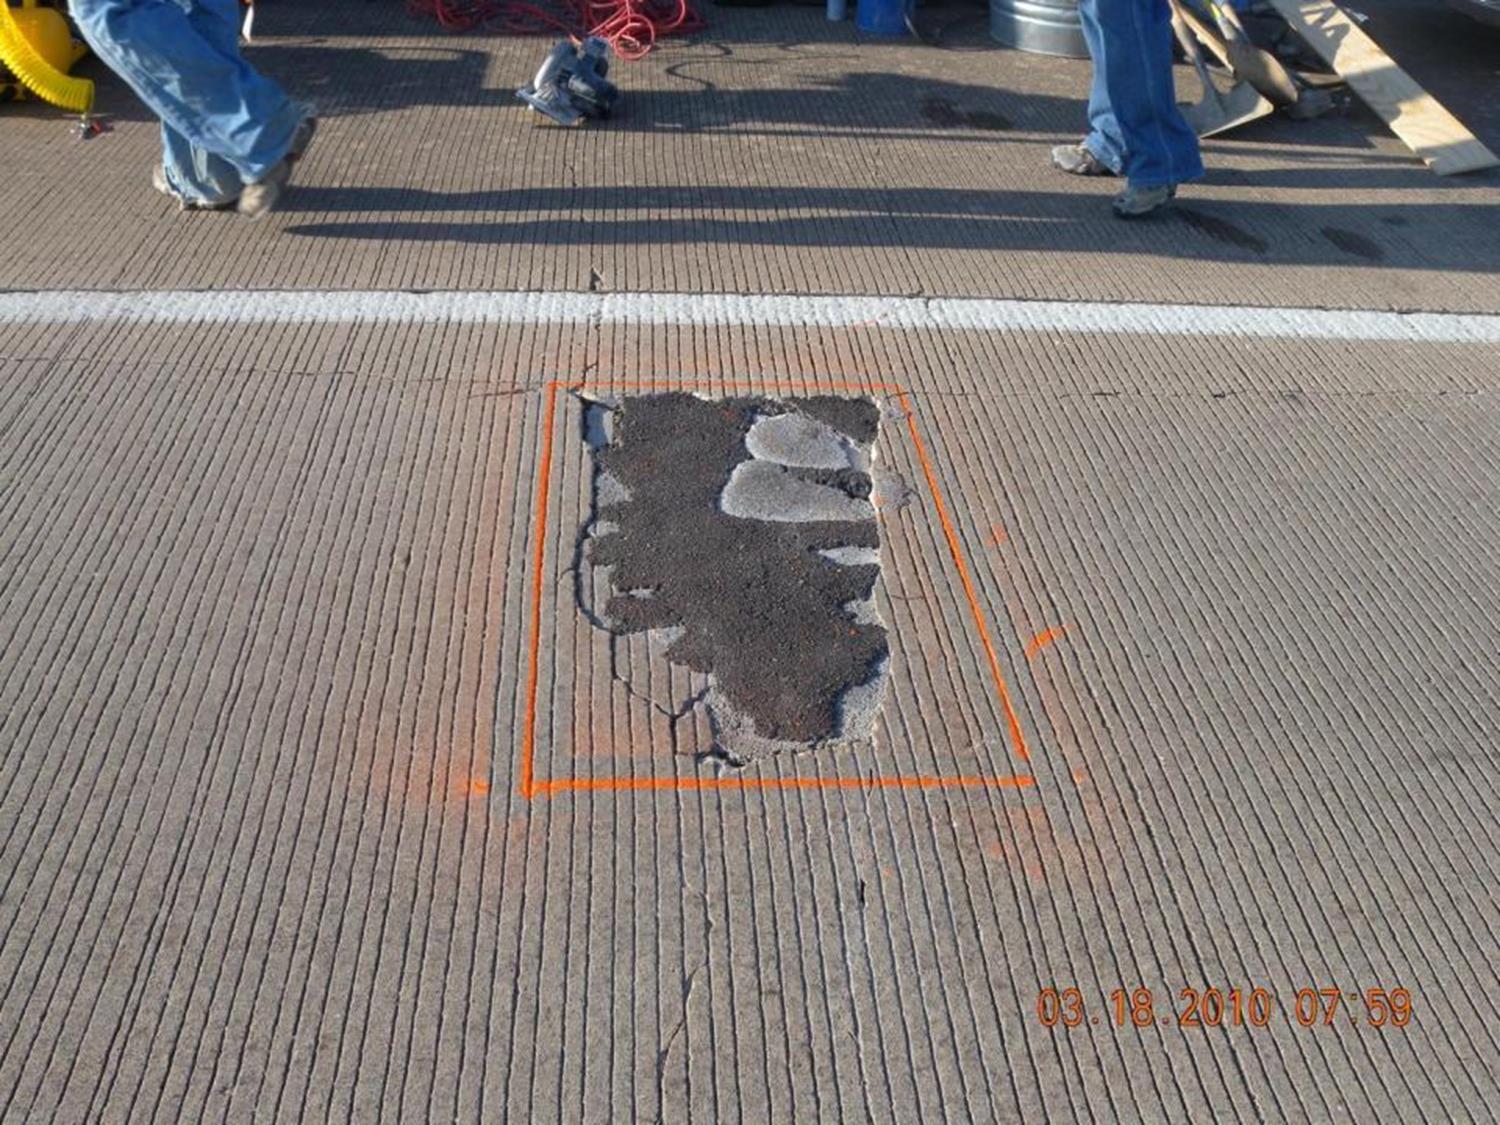
It is important to properly evaluate the extent of the deteriorated concrete and determine the limits of the repair as shown in Figure 10-8. For example, when spalling occurs, the damage often extends beyond the visible spalled area. Since most spalls are caused by delaminations, the extent of delaminations should be identified. One of the most efficient ways of evaluating the extent of delaminations is the use of a sounding test. A hammer or steel rebar can be used for sounding testing by tapping near the spalls. If there is no delamination, the sound will be solid. On the other hand, a dull or hollow sound indicates a high probability of delamination.
Figure 10-8. Identify the repair limits.
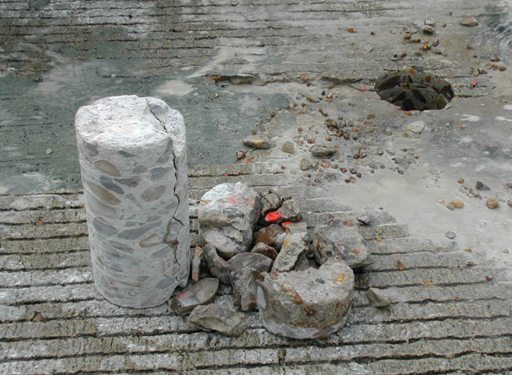
Figure 10-9 shows an example of limits that were not properly identified.
Figure 10-9. Coring adjacent to the spalled repaired area.
The repair material applied (left side of the picture) has a greenish color. The core, taken several inches away from the limits of the spall repair, revealed several delaminations at various depths. The top portion of the core came out disintegrated. If a sounding test had been conducted, areas with delamination would have been identified and the areas could have been included in the repair. To assure removal of all delaminated concrete, it is good practice to extend the limits of the repair boundaries several inches beyond the limits determined by the sounding tests. Ground penetrating radar (GPR), portable seismic pavement analyzer (PSPA), and ultrasonic tomography device (MIRA) are additional methods that can be used to determine the limit of deterioration. Contact MNT – Pavement Asset Management for assistance with these methods.
2. Remove deteriorated concrete
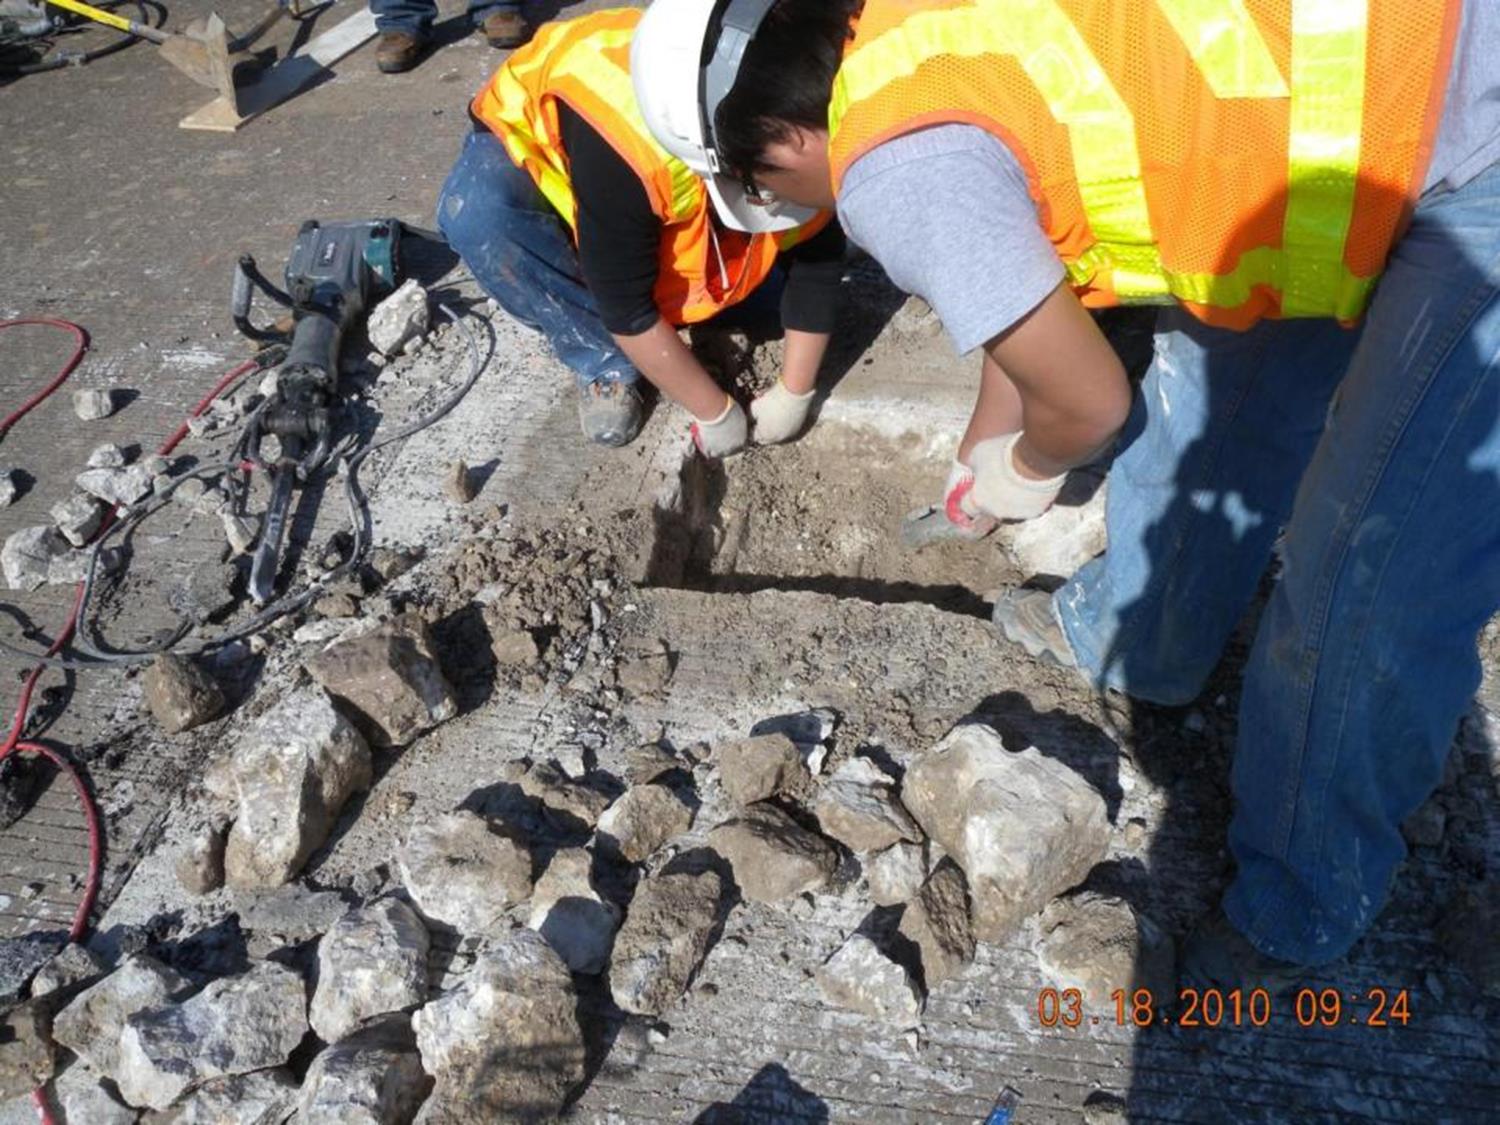
After the repair limits are determined, remove the deteriorated concrete as shown in Figure 10-10. Saw-cut the perimeter of the repair area to a minimum depth of 1-1/2 inches and then chip the concrete out using light pneumatic tools.
Figure 10-10. Removing deteriorated concrete.
3. Clean the repair surfaces
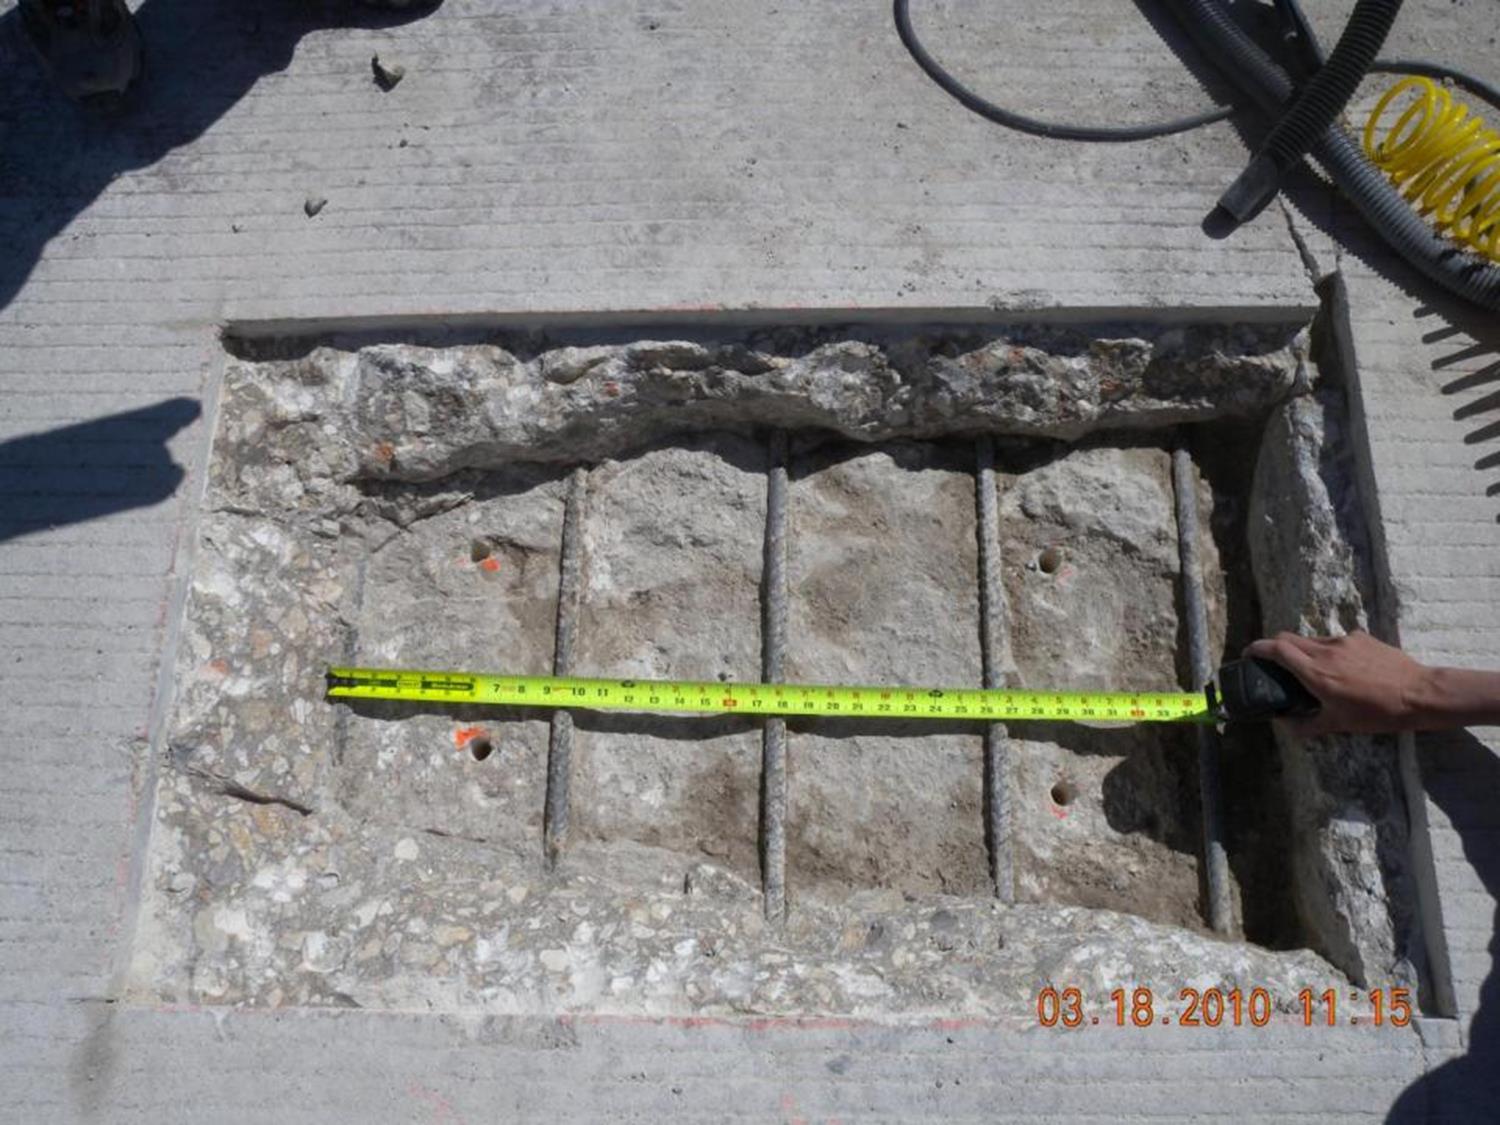
Good bonding between the exposed concrete surface and repair material is essential. Without good bonding, the repair material will be separated from the concrete due to environmental and wheel loading. After deteriorated concrete is removed, the concrete surfaces should have a rough texture. Clean the repair area with water to remove any dust to improve bonding of the patching material as shown in Figure 10-11.
Figure 10-11. Clean repair surfaces.
4. Place repair materials
The department has several repair material options that can be used which are listed in Items 361, 720, and 721.
The general characteristics of good repair materials should include:
- Anchor: #LEGAGGMD
- good bond strength, Anchor: #NBELLLTL
- less volume change potential due to temperature and moisture variations, and Anchor: #QRVOGOQA
- strength and modulus of elasticity comparable to those of the existing concrete.
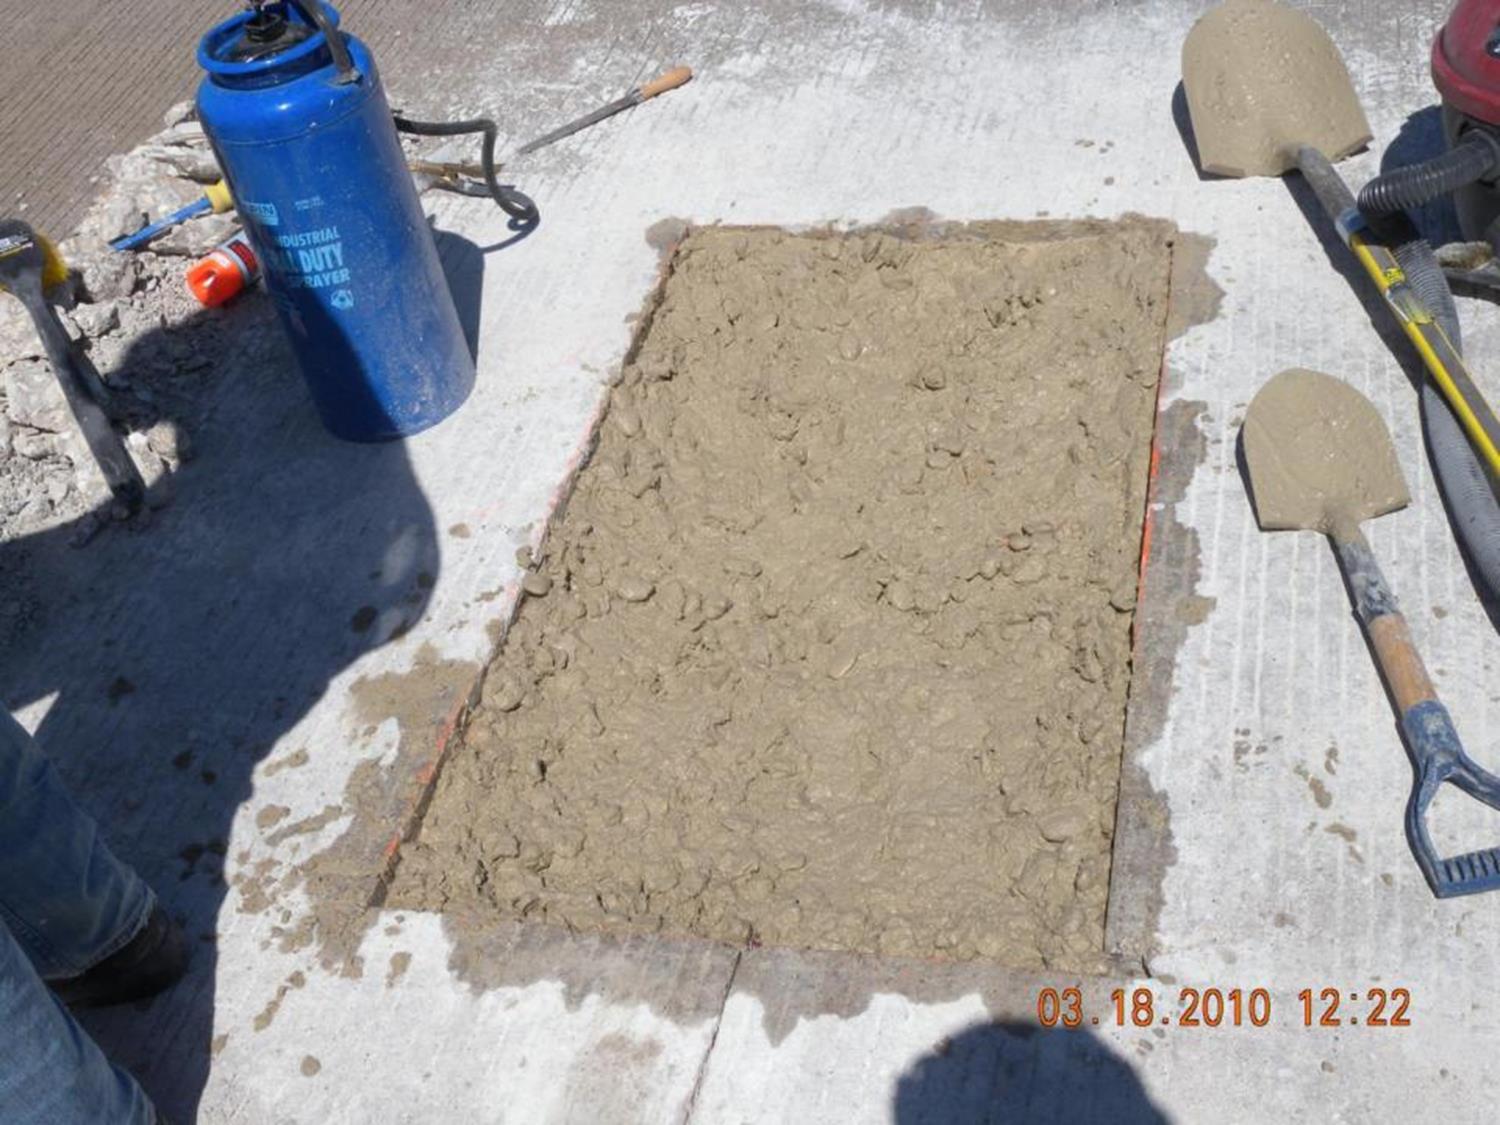
When using ready-mixed concrete, the repair surface should be saturated with no ponding water prior to placing the concrete. The concrete must be cured in accordance with Item 360.
When using repair products listed on the department’s Material Producer Lists, prior to placing repair materials, carefully read and follow the manufacturer’s recommendations for surface preparation, mixing, placing, and curing.
Figure 10-12. Place repair materials.
5. Finish the surface
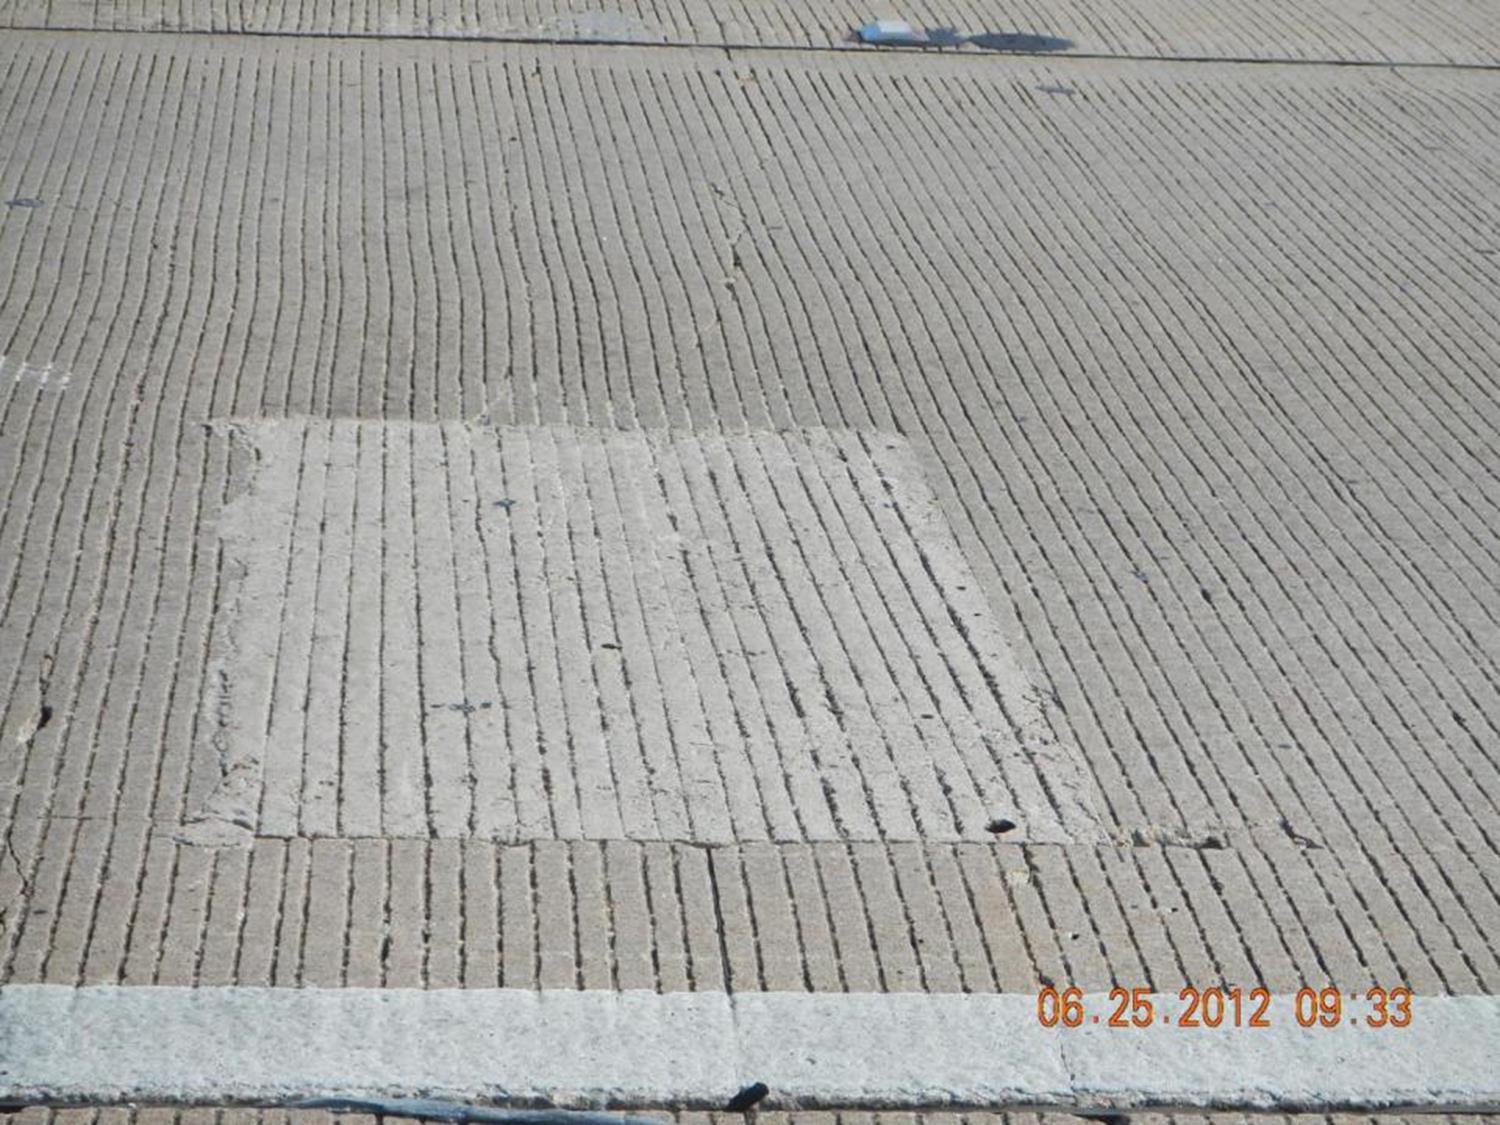
Finish the repair surface to conform roadway surface. Match the repair surface texture with adjacent concrete as shown in Figure 10-13.
Good curing is essential. Because the repair areas and depths are relatively small, this makes the surface-to-volume ratio of the repair material applied higher than that of normal concrete pavement. This high surface-to-volume ratio makes the repair material subject to larger volume changes due to drying shrinkage if not properly cured. The loss of moisture due to poor curing also results in evaporation heat loss.
The optimum time for the application of curing compounds is when the bleed water no longer comes to the surface. However, repair materials have low water-cement ratios and tend not to bleed. In that case, curing operations should begin as soon as possible.
Figure 10-13. Finish the surface.
